We'll start with recommending some basic tools depending on what kind of editing you're doing:
Basic Photo Editing
(Cropping, brightness, contrast, filters, Save for Web)
- Best Tools:
- Export for Web Tips
- Images that have gradients, photos, fades, should be exported as .jpg
- Images that are two dimensional, logos, text images should be exported as .png
- Full screen size images (hero images) should be no larger than 1600px wide at 72dpi.
- Half screen size images: 800px wide - Quarter screen size images: 400px wide.

Background Removal Tools / Object Removal
- Best Tools:
Designing for Social Media / Web
(Banners, thumbnails, stories, ads)
- Best Tools:
- Canva – Templates galore, drag-and-drop
- Adobe Express – Polished templates & auto resize

Next we have some guidelines when editing images and graphics for your website:
Editing images online can be super convenient and effective, especially with the right tools and techniques. Here are some best practices to follow when editing images online:
Choose the Right Tool
- For basic edits: Use tools like Canva, Pixlr, Fotor, or Photopea.
- For advanced edits: Go with Photopea (Photoshop-like), or Pixlr E (more powerful than Pixlr X).
- For AI features: Try Remove.bg (background removal), Cleanup.pictures (object removal), or RunwayML (video/image AI editing).
Know Your Purpose
Tailor your edits based on your goal:
- Social media: Use proper aspect ratios, bright colors, and light filters.
- Web design: Optimize size and resolution for fast loading.
- Print: High resolution (300 DPI), CMYK color mode (if the tool supports it).
Follow These Editing Steps
- Crop & Straighten – Clean up the framing.
- Adjust Lighting – Tweak brightness, contrast, exposure.
- Color Correct – Fix white balance, saturation, vibrance.
- Retouch/Enhance – Use healing tools or AI for blemishes, sharpening, etc.
- Add Text or Graphics – Keep it readable and well-placed.
- Resize/Compress – Match output format to your needs (e.g., web, print, etc.).
Keep Design Principles in Mind
- Less is more: Avoid over-editing.
- Consistency: Stick to a color scheme or visual style.
- Hierarchy: Use fonts and contrast to guide the viewer's eye.
- Alignment: Use grids and guides if available.
Export Smart
- JPEG for photos (good quality + small file size).
- PNG for images with transparency or sharp graphics.
- WebP for web use (great compression without losing much quality).
- Check the resolution (e.g., 1080x1080 for web images and Instagram posts).
- Note that the average website browser screen is no more than 1600px wide, use this as a reference. IE: If you want an image to take half the page; size it to 800px wide.
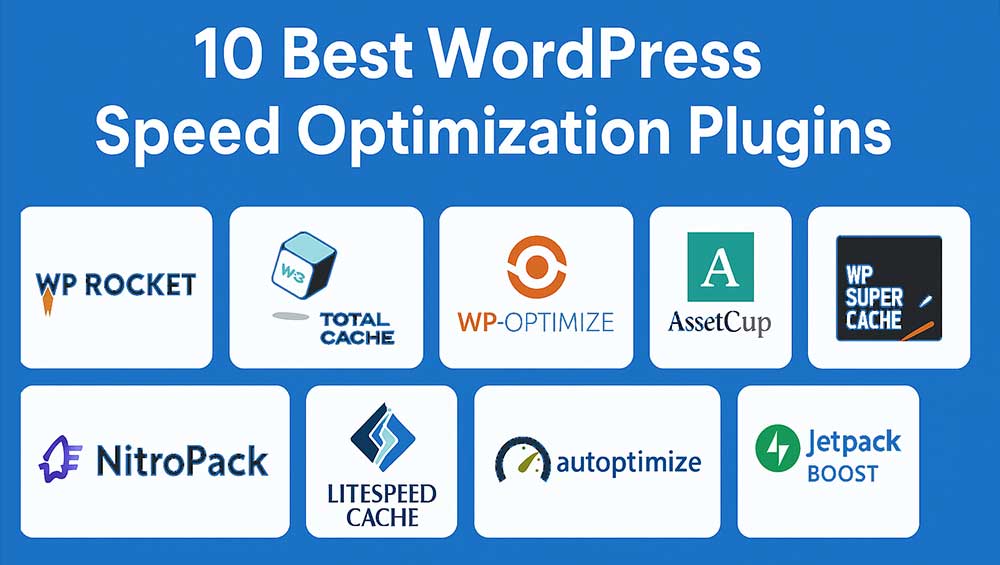
- WebP isn't necessary if you're using WordPress Plugins like WP Compress, or WP Rocket - these plugins will compress and convert all your images to WebP for you.